

Hanging Artwork
Before you start hammering, read this…
1. Start Prepping – Take stock of what you wish to display and decide where you wish to hang. There are no rules whether you choose one piece or an arrangement.
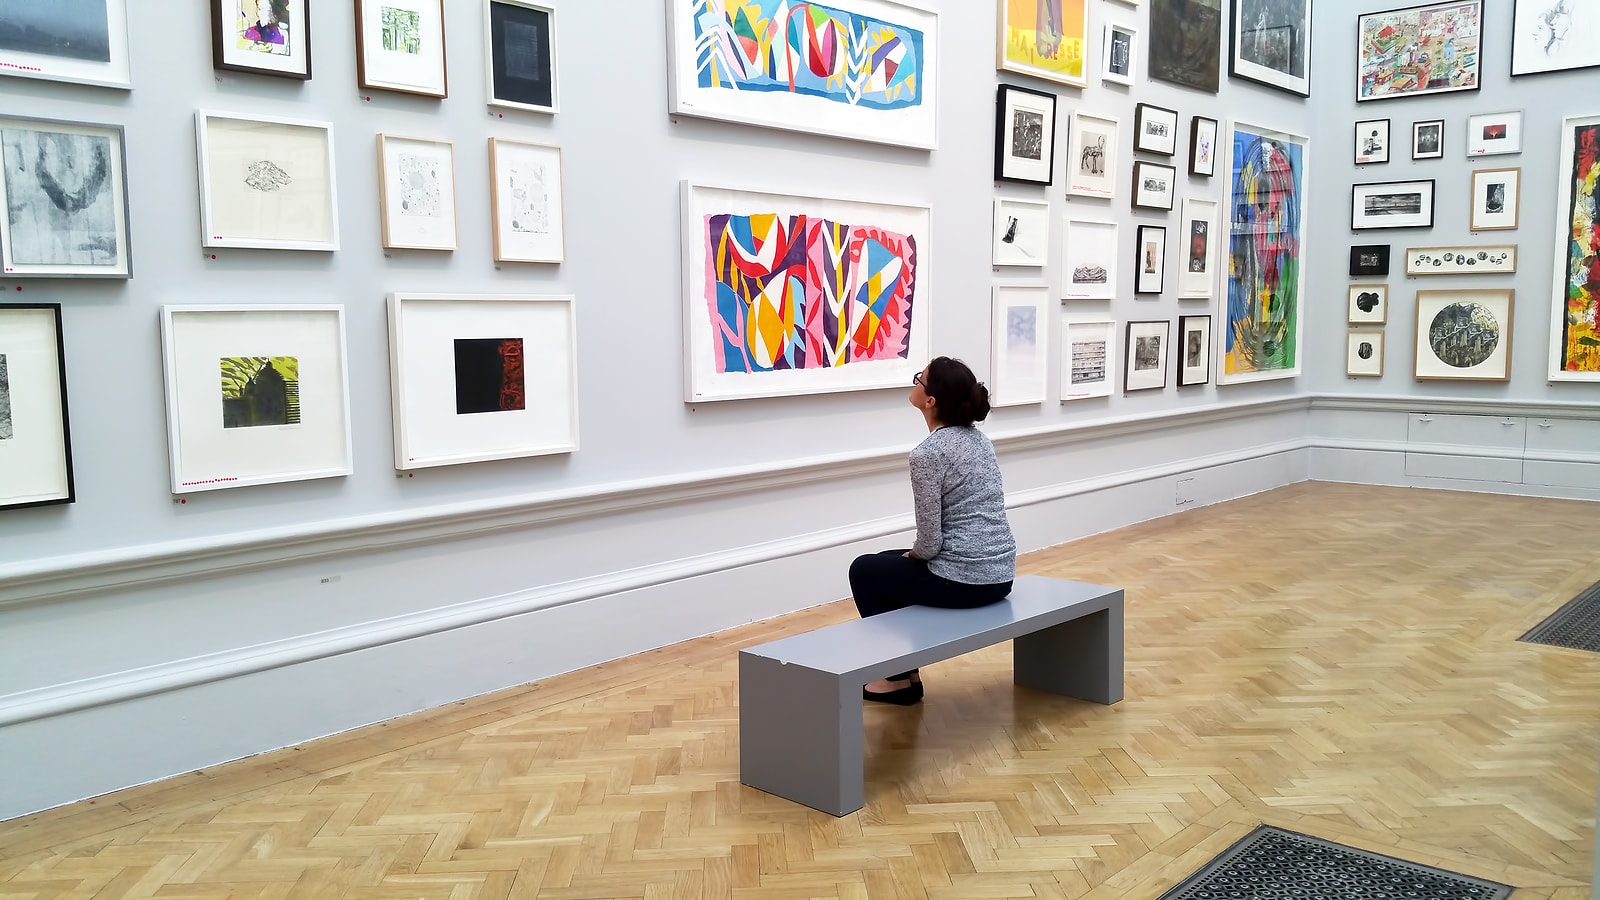
2. Arrange it all on the floor before hanging your first piece – Look at an arrangement as a puzzle and consider integrating different shapes, styles, textures and colors. When making an arrangement, consider one piece as a focal point and then work around with others to create a ‘gallery wall’.
3. Frames and Matting – Investing in quality matting and framing makes artwork look its best.
4. Getting it on the Wall – hanging art can be tricky and is easier when there are two people – using a tape measure, pencil and level are needed to line pieces on the wall. We suggest getting the help of a professional. We always suggest using proper picture hooks which can make the remediation process easier when you wish to bring the wall back to a ‘clean slate’.
However, we like the ceiling art hanging systems, a system consists of a hanging rail, hanging wires and hooks. Walls can be decorated in a flexible way be inserting the hanging wires with hooks anywhere you like in the rail vertically and horizontally. Check the Artiteq picture hanging system. Hanging and re-hanging pictures can be done without adding holes in your walls. The rails can be inconspicuous and painted the same color as the walls to ‘disappear’. And of course, when these systems are in place, there is no need to hammer holes in walls!